If you are using Google Ads to advertise your Shopify store, then you will usually need to set the corresponding conversion label to enhance your advertising effect. By setting conversion label on your online store, conversion events can be tracked and sent back to Google Ads to help optimize its matching and learning.
OmniTrack has fully integrated Google Ads eCommerce conversion event tracking and reporting. After installing OmniTrack app, you can track the following standard events by authorizing/manually adding without adding any code:
1)View Content
2)Add To Cart
3)InitiateCheckout
4)Purchase
Let's take a look at how to set it up. In this guideline,we will show the following:
1.How to implement conversion tracking in OmniTrack
2.How to view Tracking Event on Shopify Website with Pixel Helper(Google Tag Assistant Legacy)
1.How to implement conversion tracking in OmniTrack
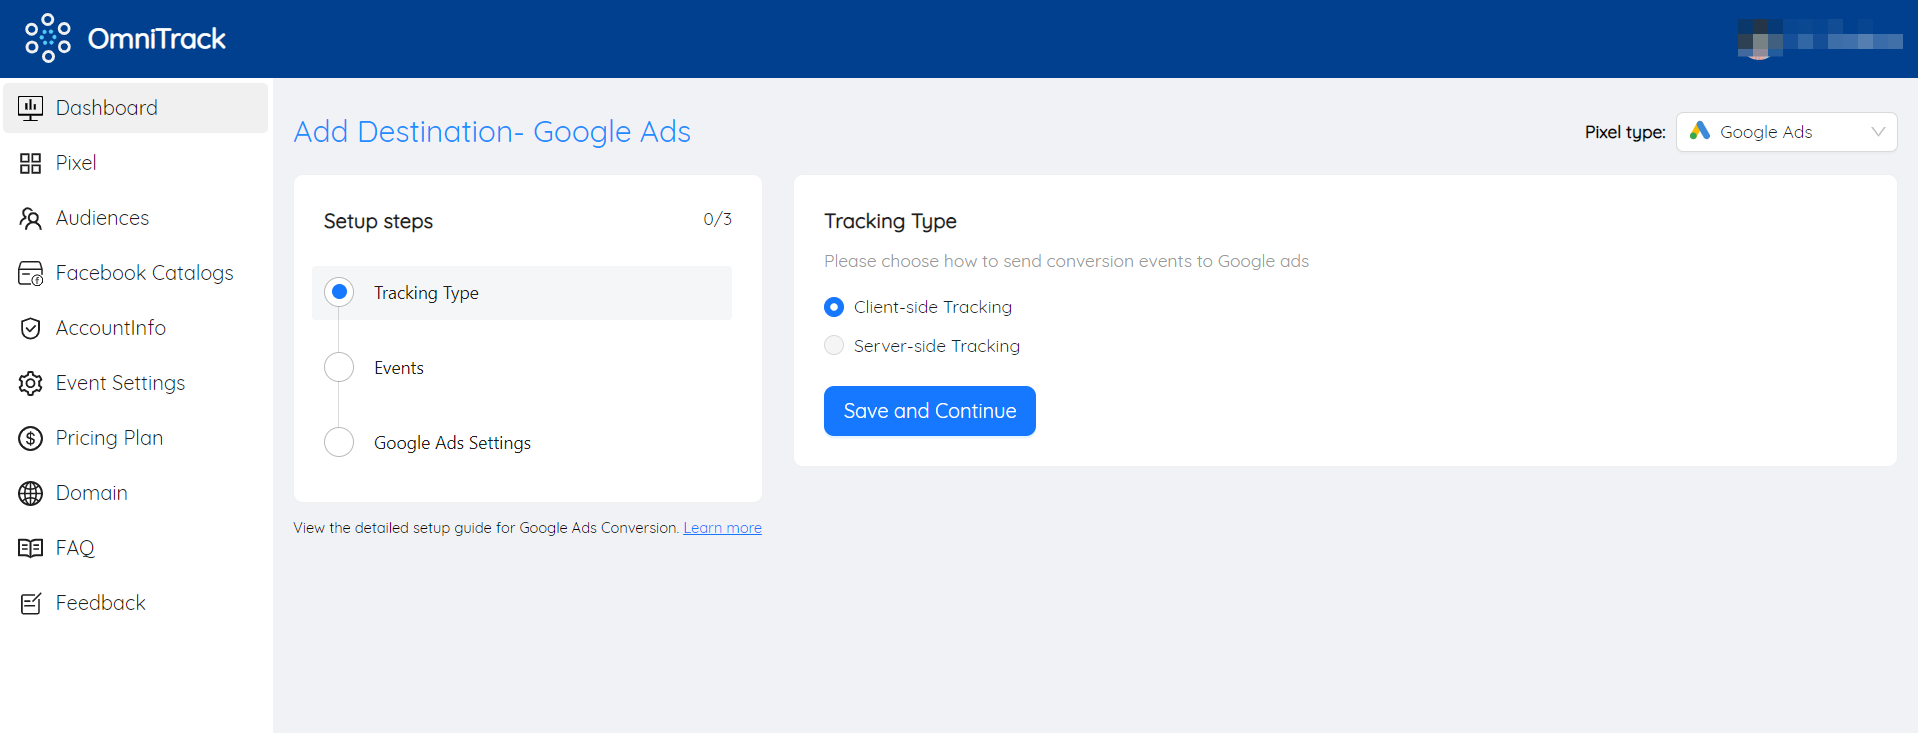
Step 1.Choose your tracking type
OmniTrack supports both client-side tracking and server-side tracking. You need to subscribe to an upgrade plan before using it. If you have already subscribed, you will see the following two tracking types. At present, only Client-side tracking is open, and Server-side tracking has not been released yet, so stay tuned.
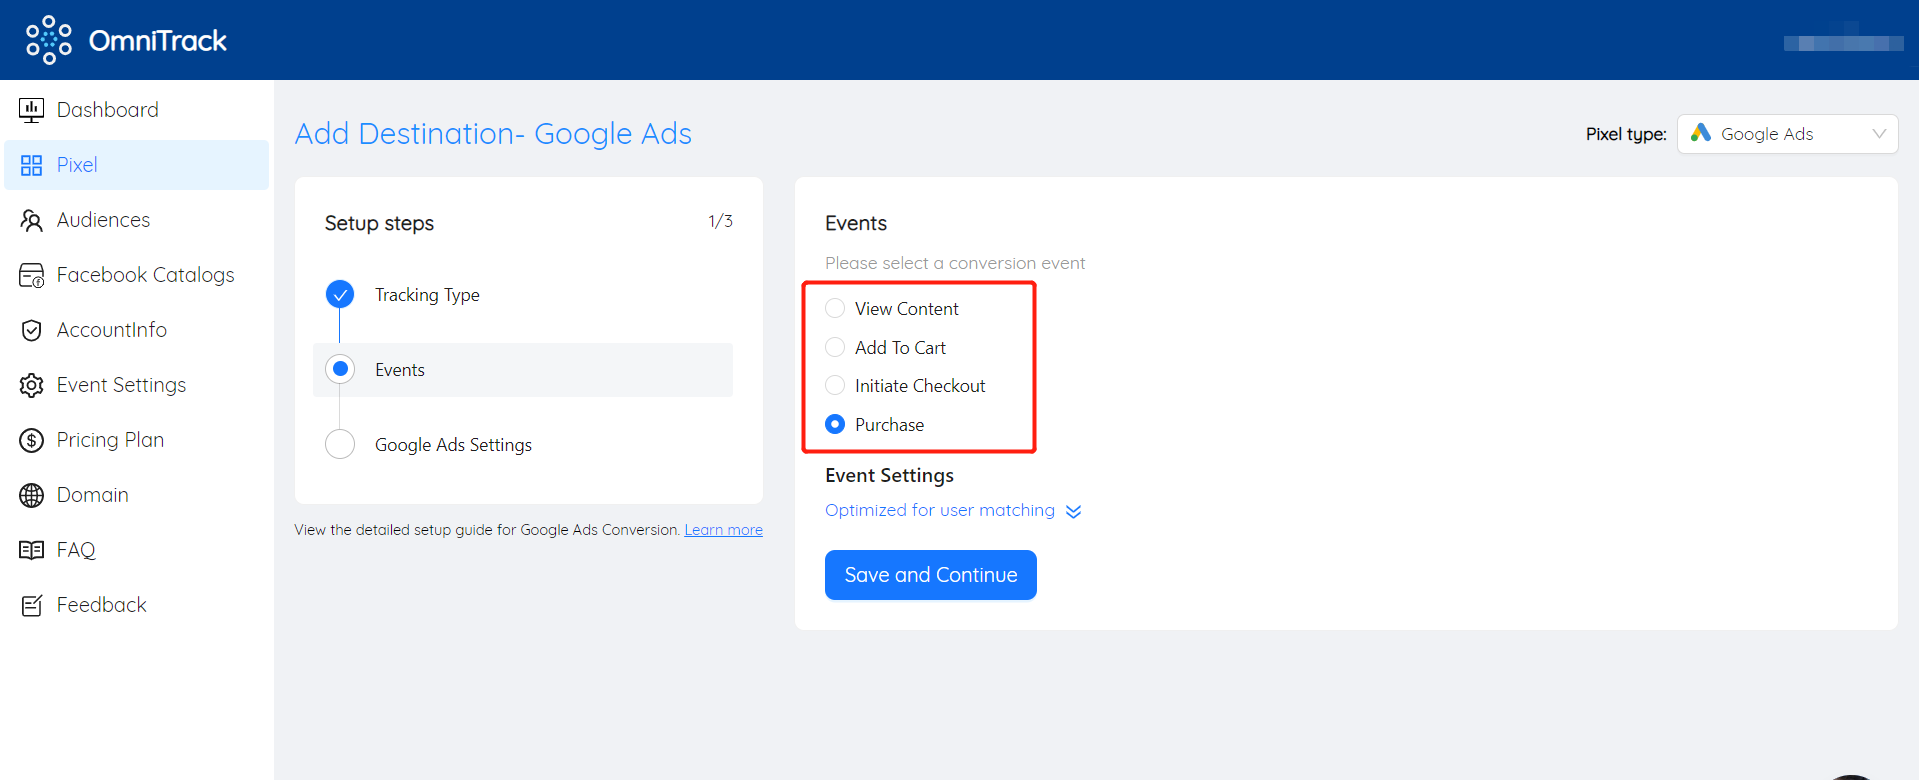
Step 2.Select conversion event type
OmniTrack currently supports the following four most common conversion event types, please choose according to your actual needs. Most merchants will choose Purchase as the main conversion event.
Step 3. Set up Google Ads Conversion Code
OmniTrack supports two ways to add Google Ads Conversion, adding by auth and adding manually(Adding by auth is not yet officially open). If the tracking type you selected in the first step is server-side tracking, you can only add Google Ads Conversion by authorization.
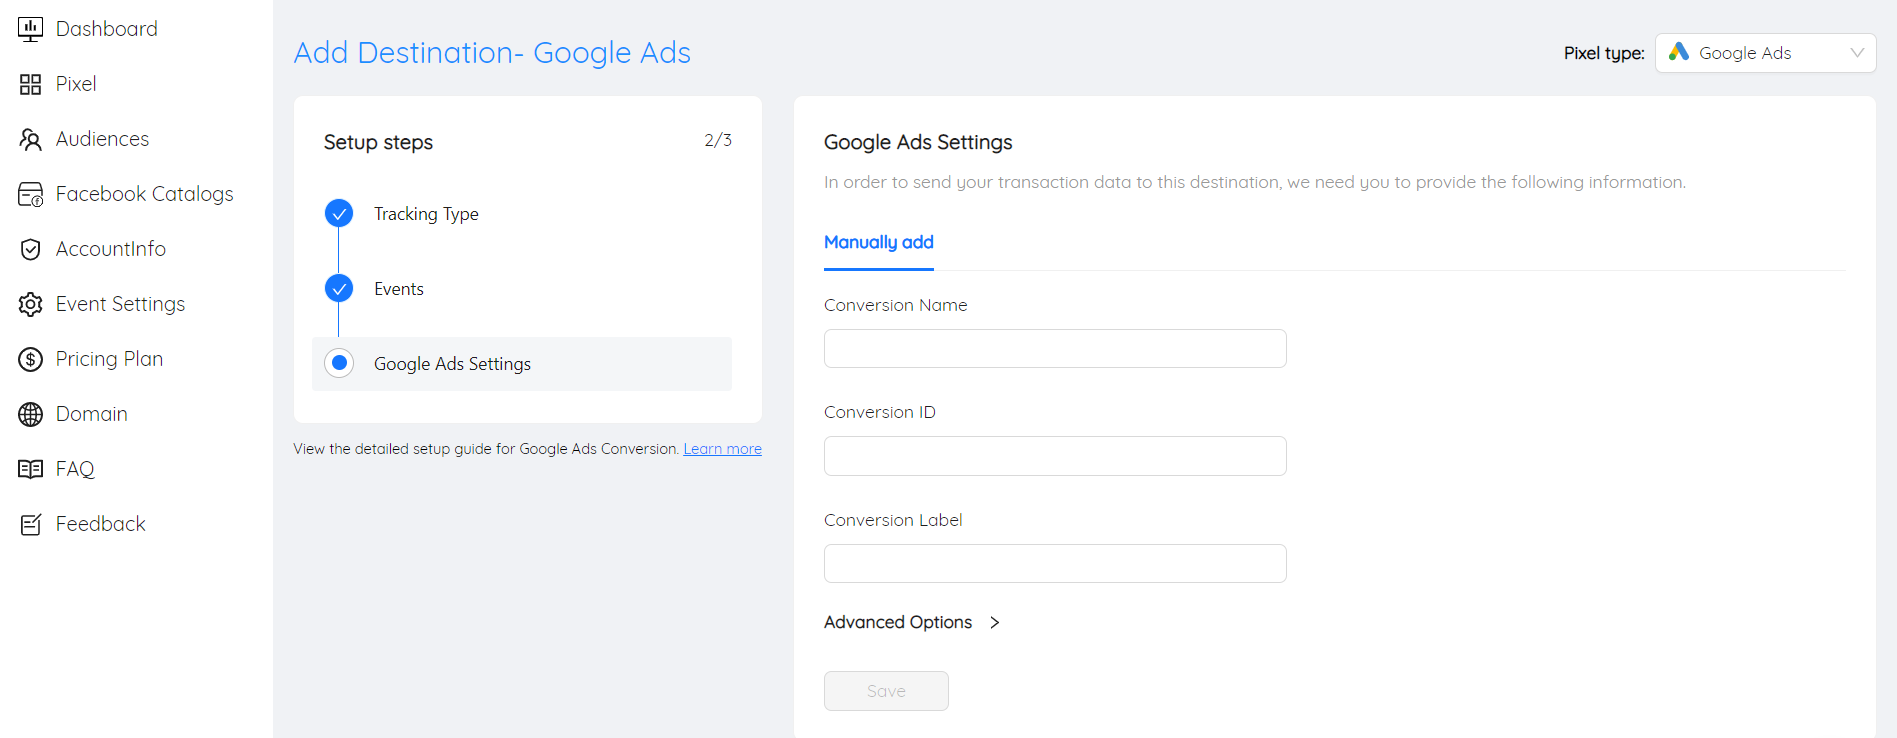
Manually add Google Ads Conversion
If you choose to add manually, you need to create the conversion action in the Google Ads backend first, and then configure it in OmniTrack after obtaining the Conversion ID and Conversion Label. How to create a conversion action in the Google Ads backend and get the Conversion ID and Conversion Label?
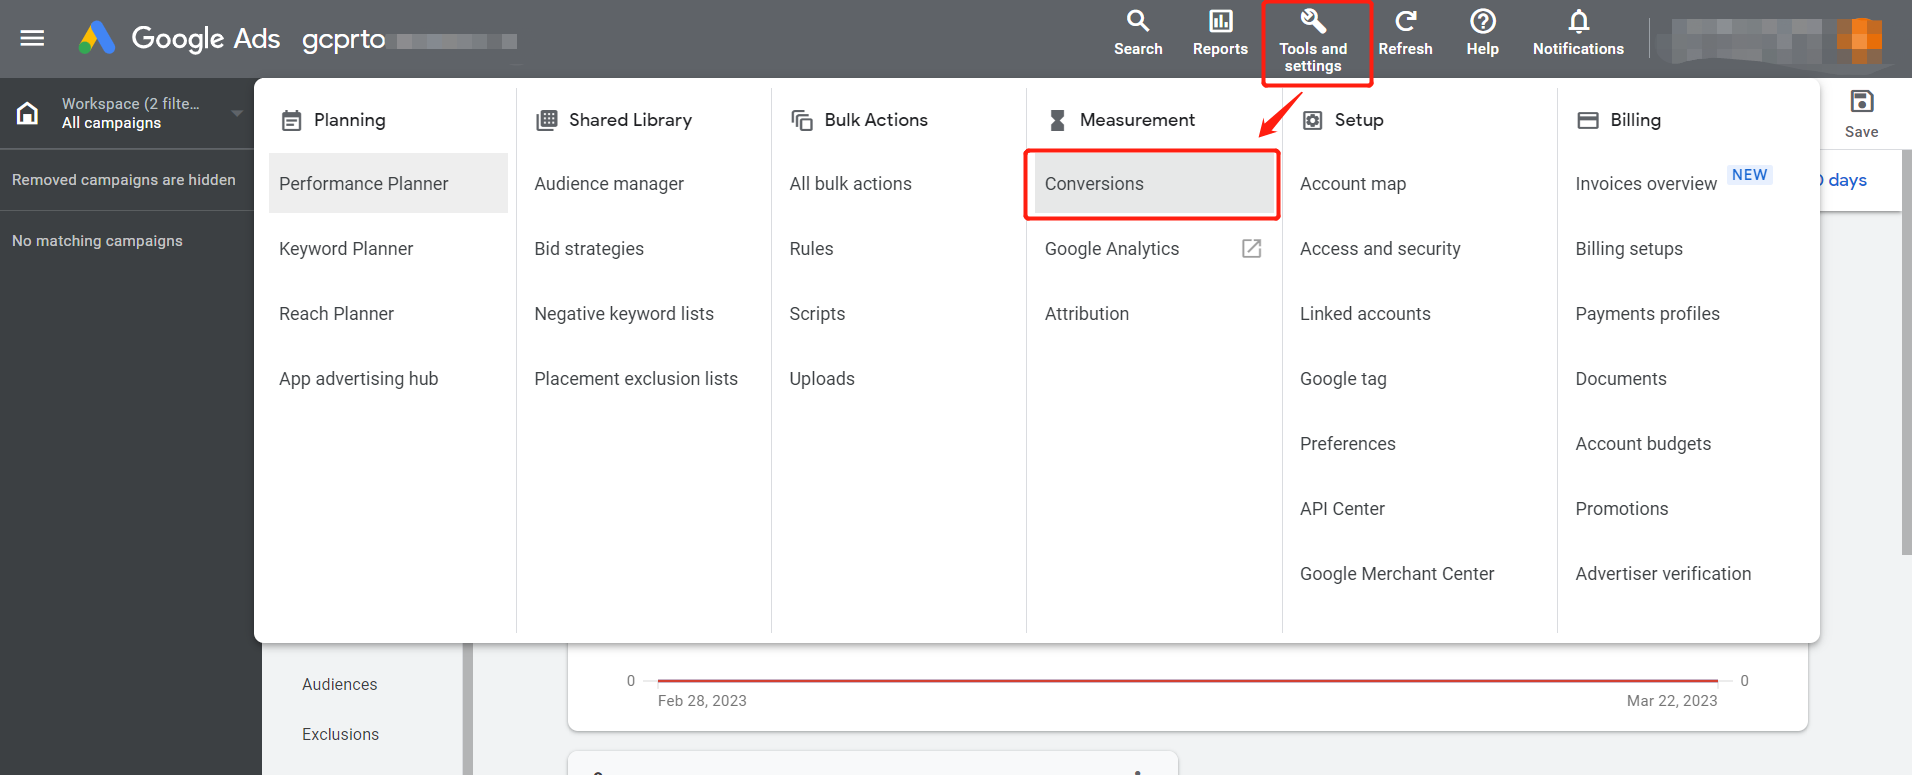
a) Go to your google ads account, select the menu "Tools and Settings" > "Measurement" > "Conversions"
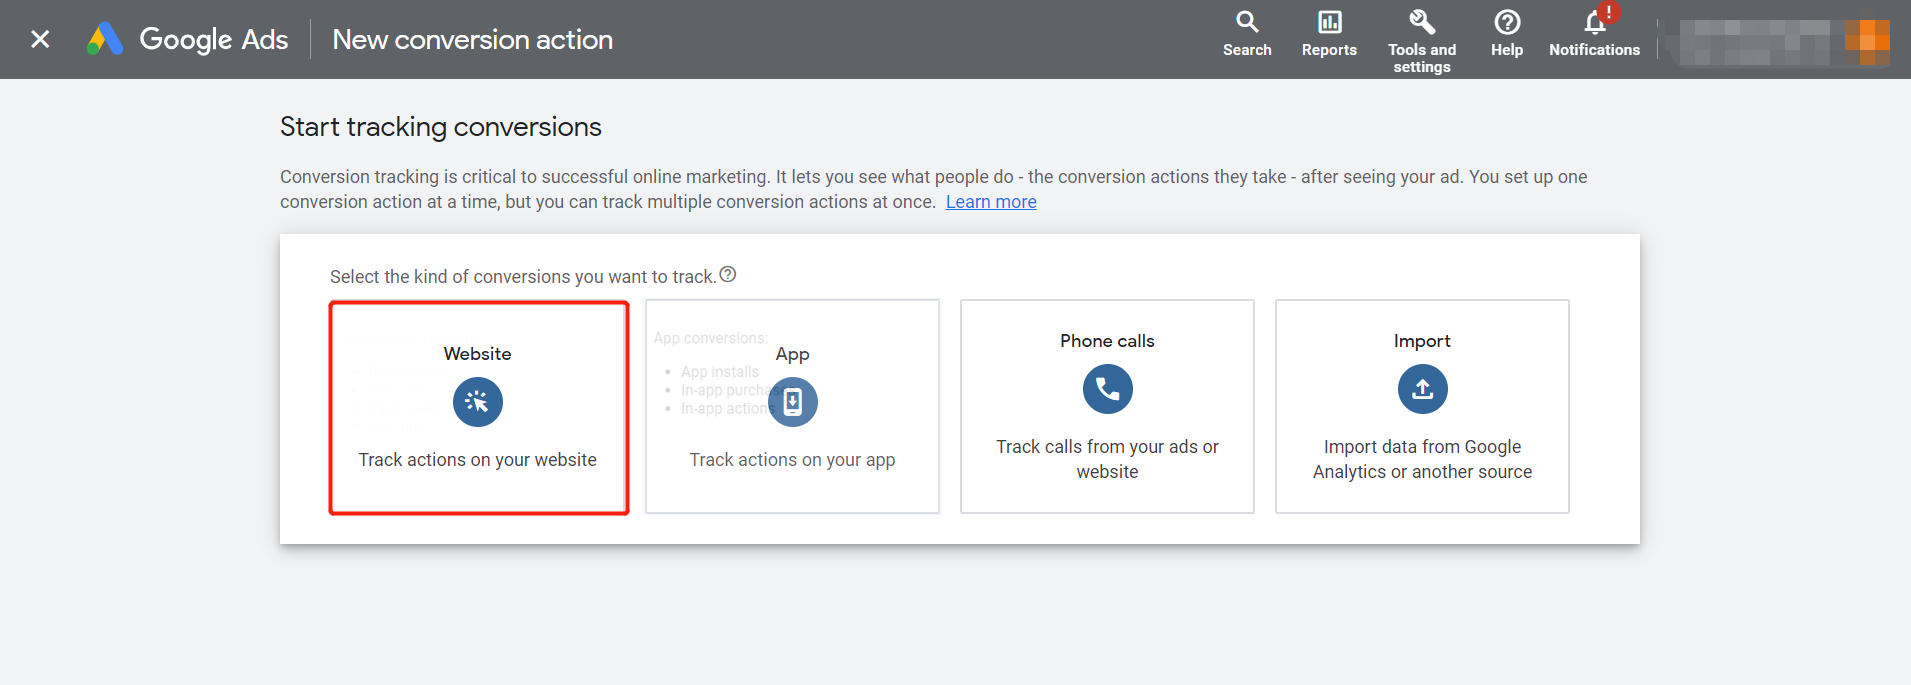
b) After clicking "New Conversion Action", select "Website"
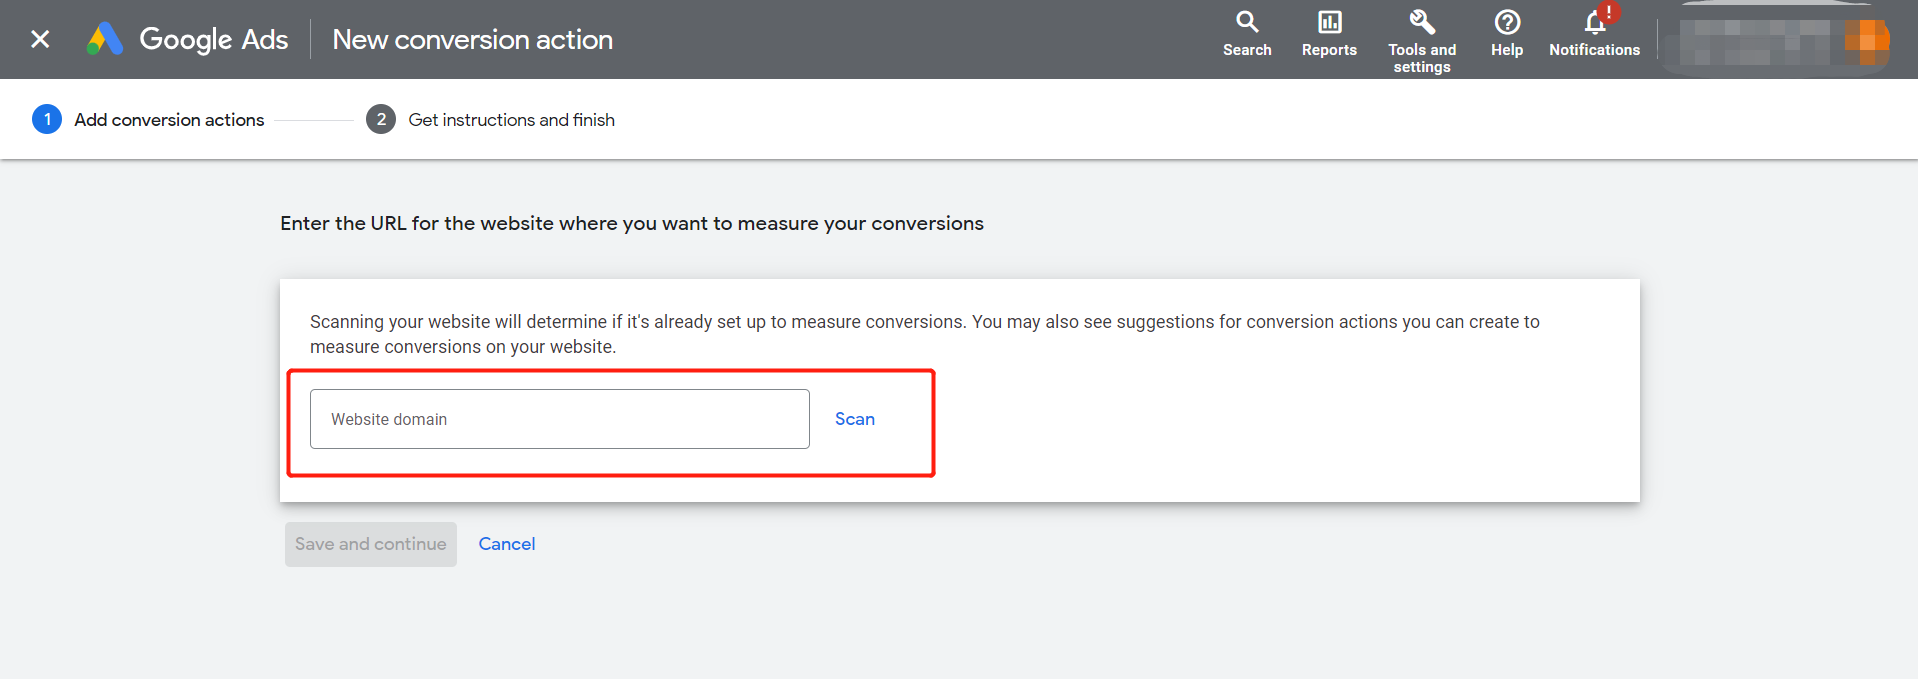
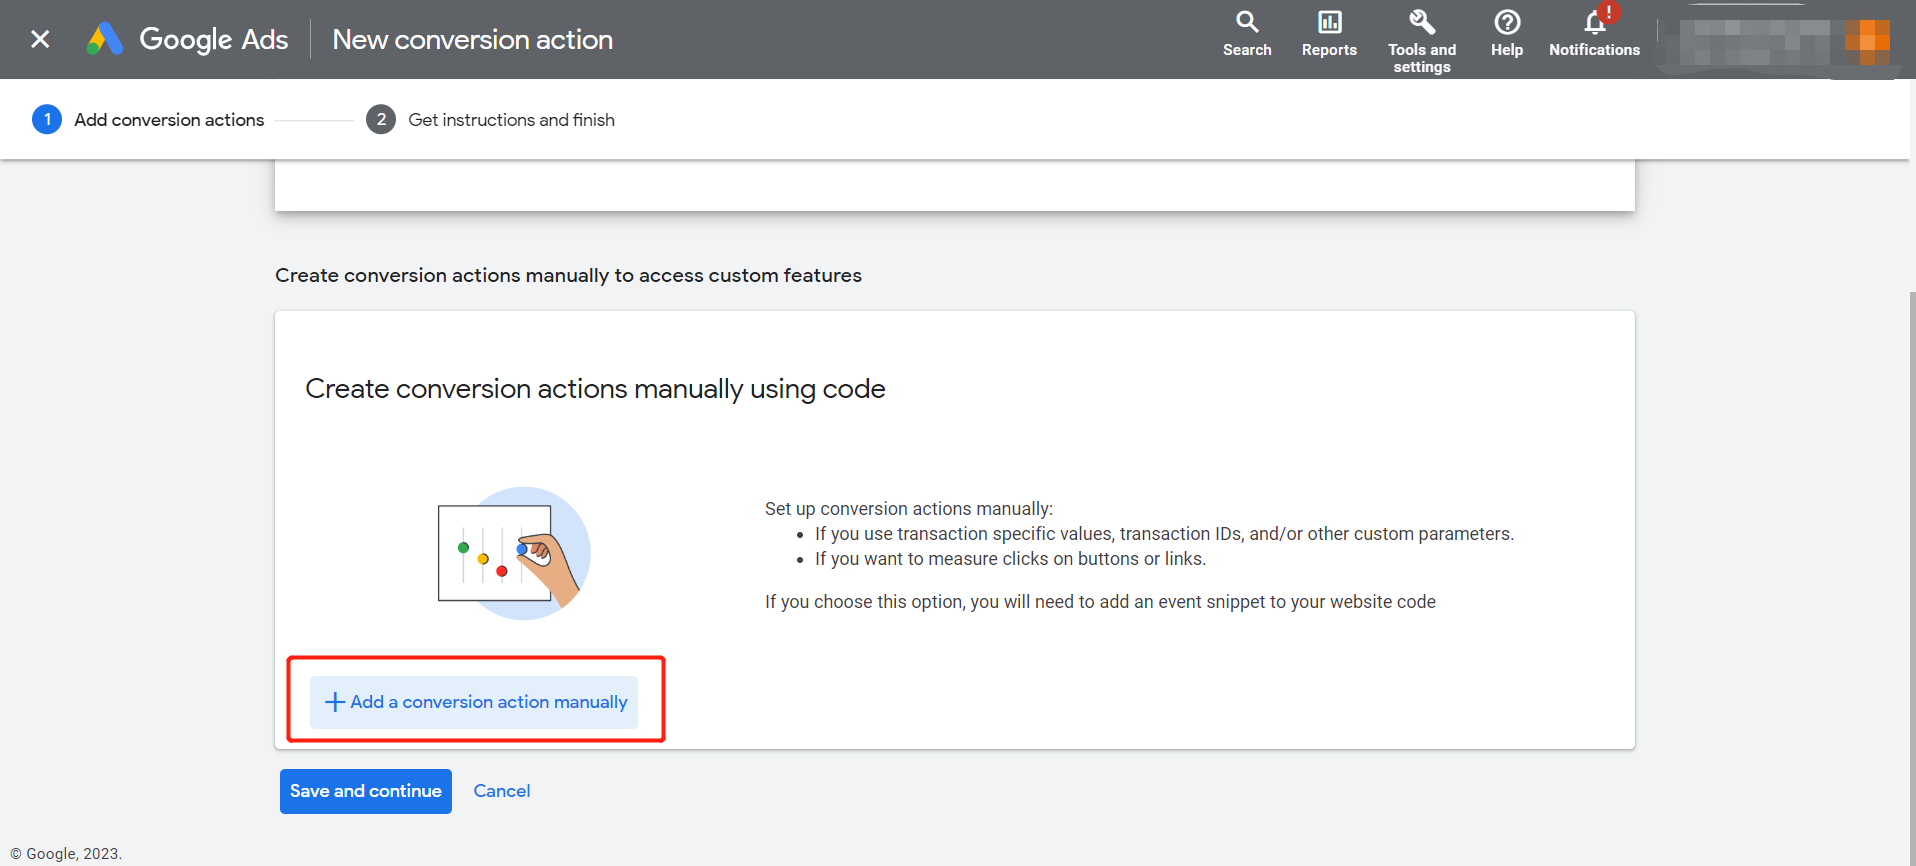
c) After entering your store address, click "Scan", then scroll to the bottom of the page and click "Add a conversion action manually"
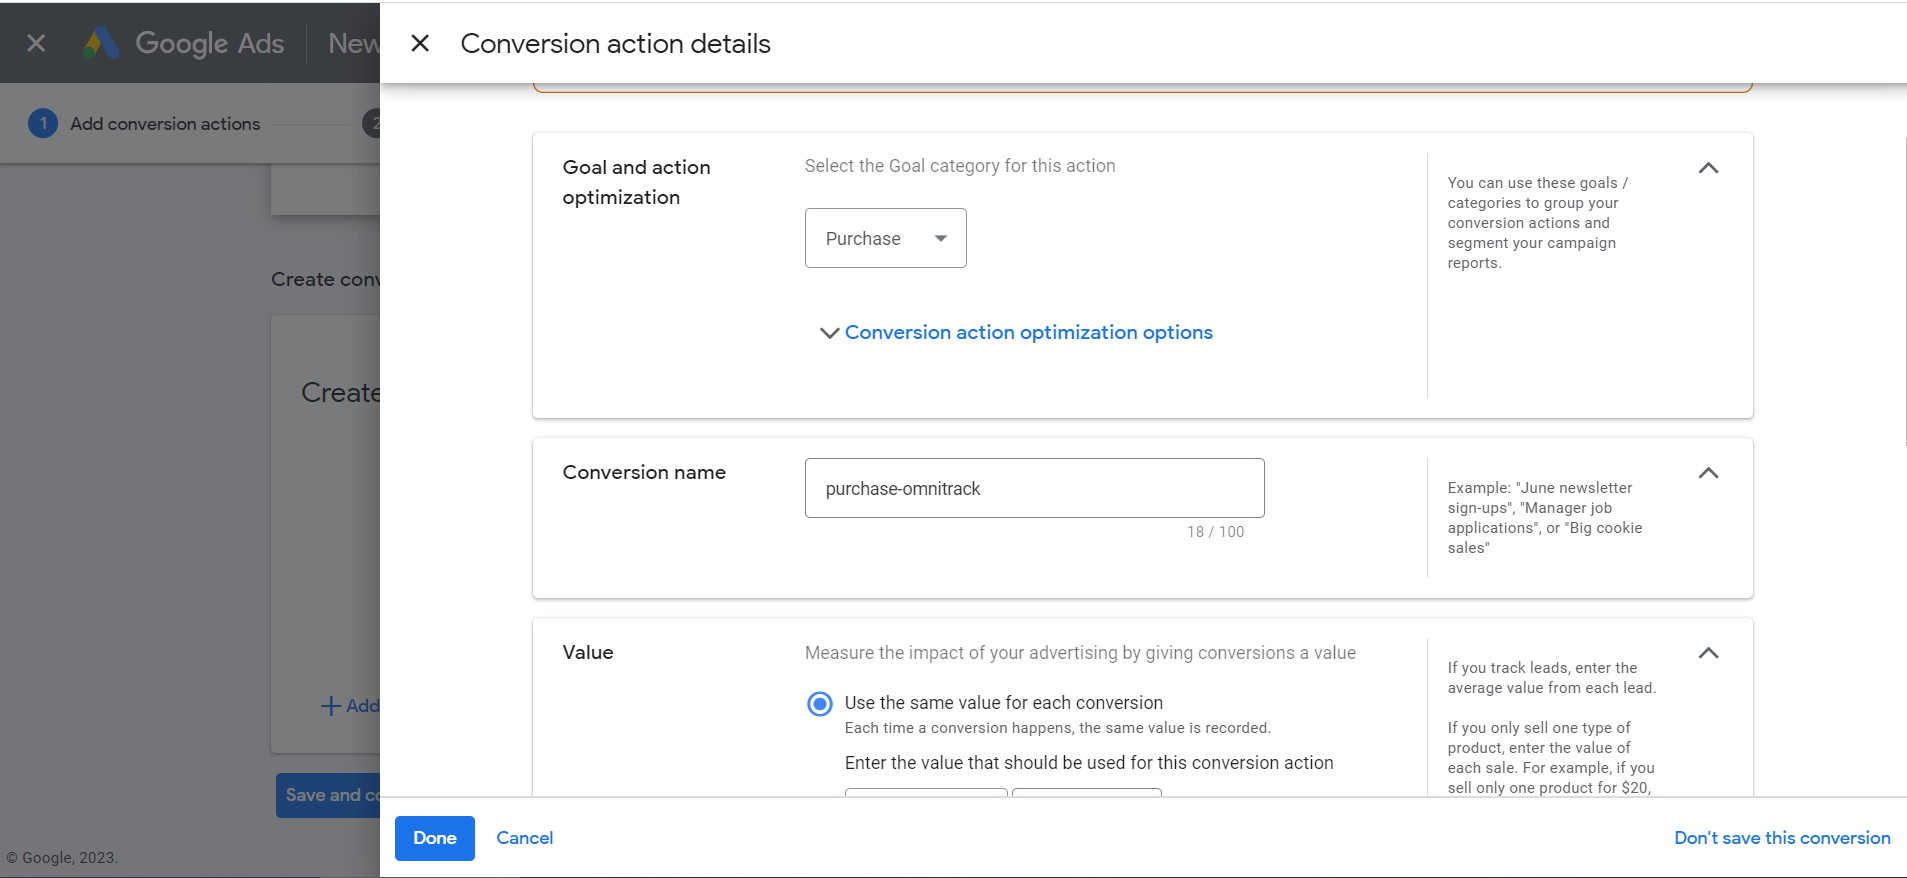
d) Set the conversion goal, conversion name, conversion value, etc. After setting, click "Done" and then click "Save and Continue"
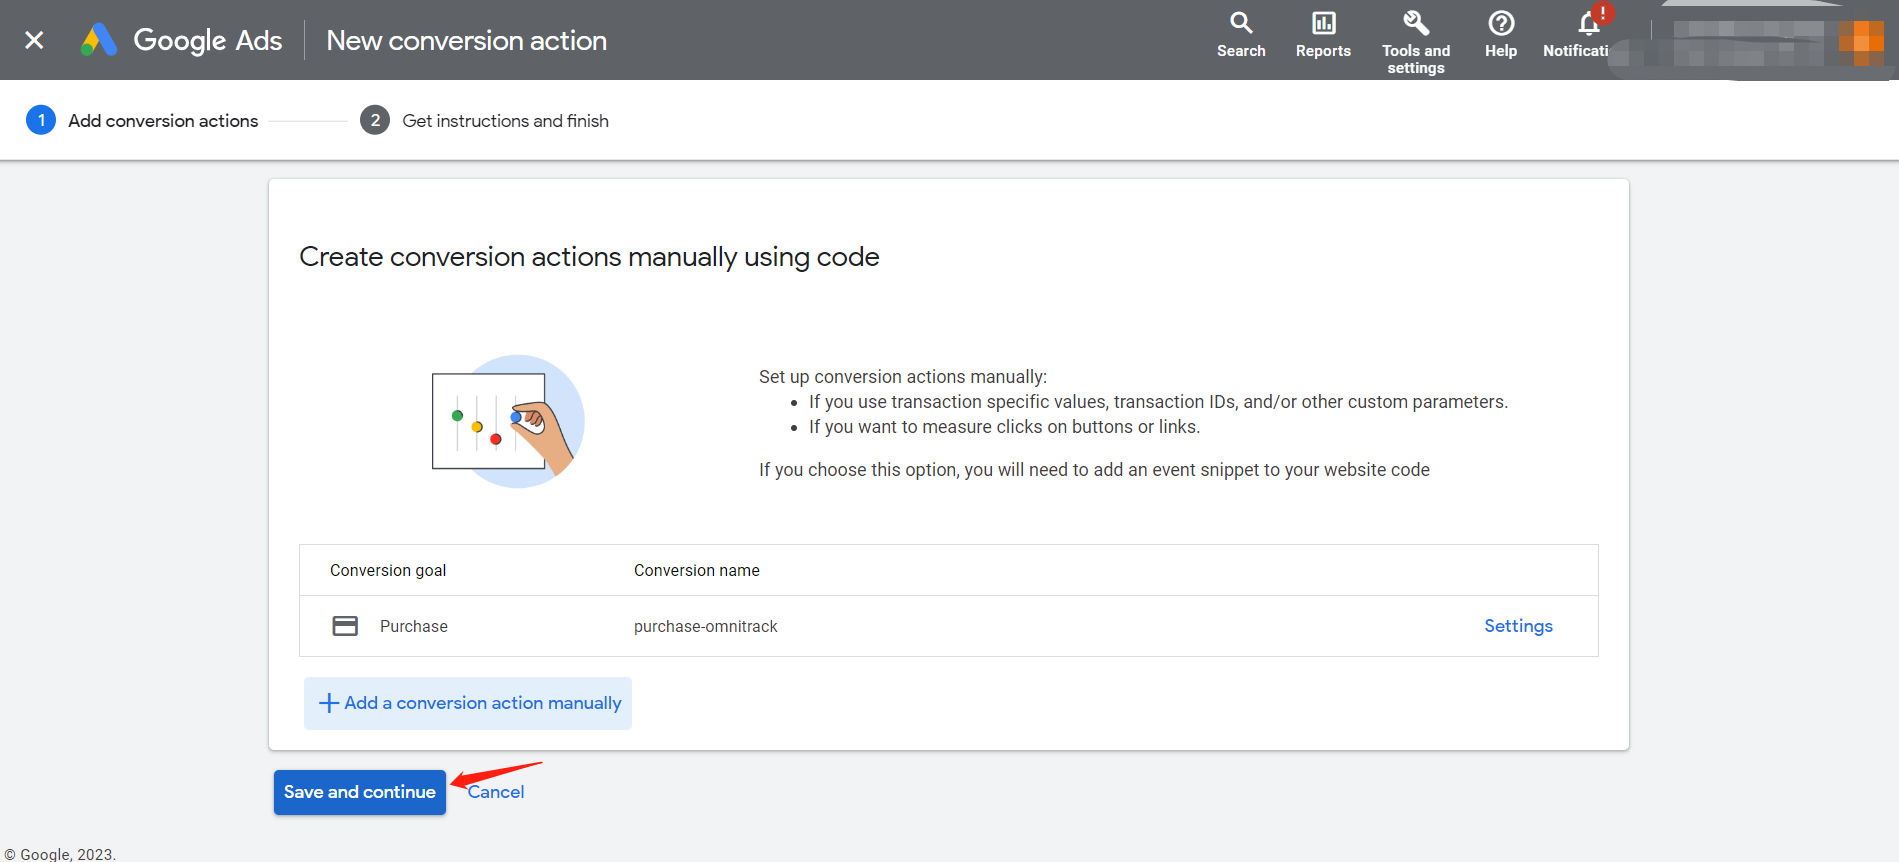
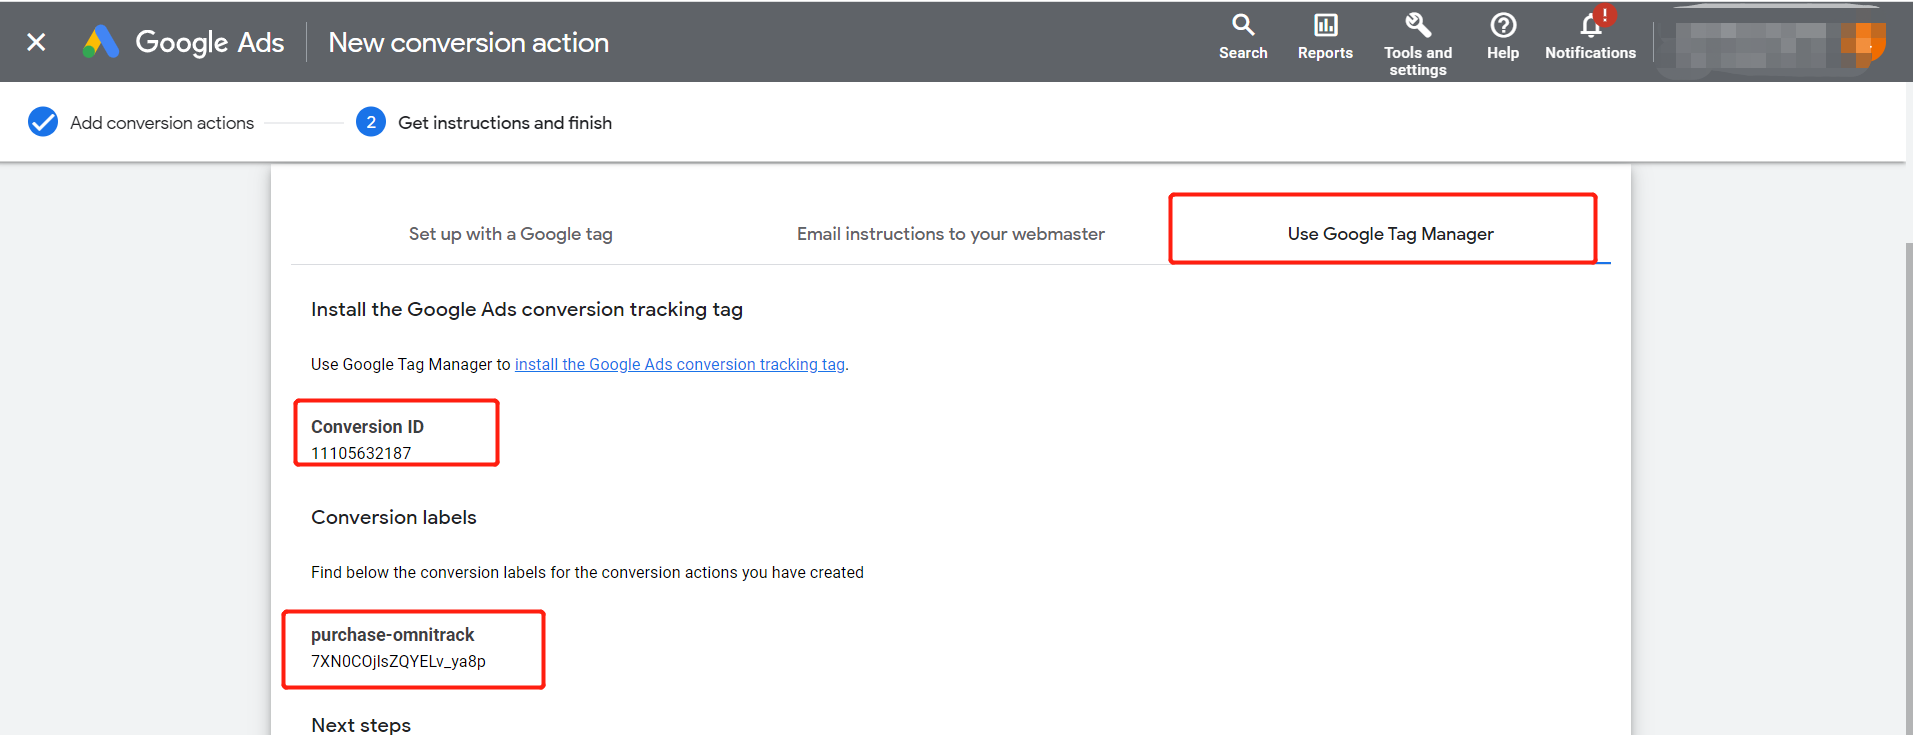
e) On the page shown in the figure below, select the "Use Google Tag Manager" option to see the values of Conversion ID and Conversion Label, copy and paste them into the app.
In this step, there are two advanced settings:
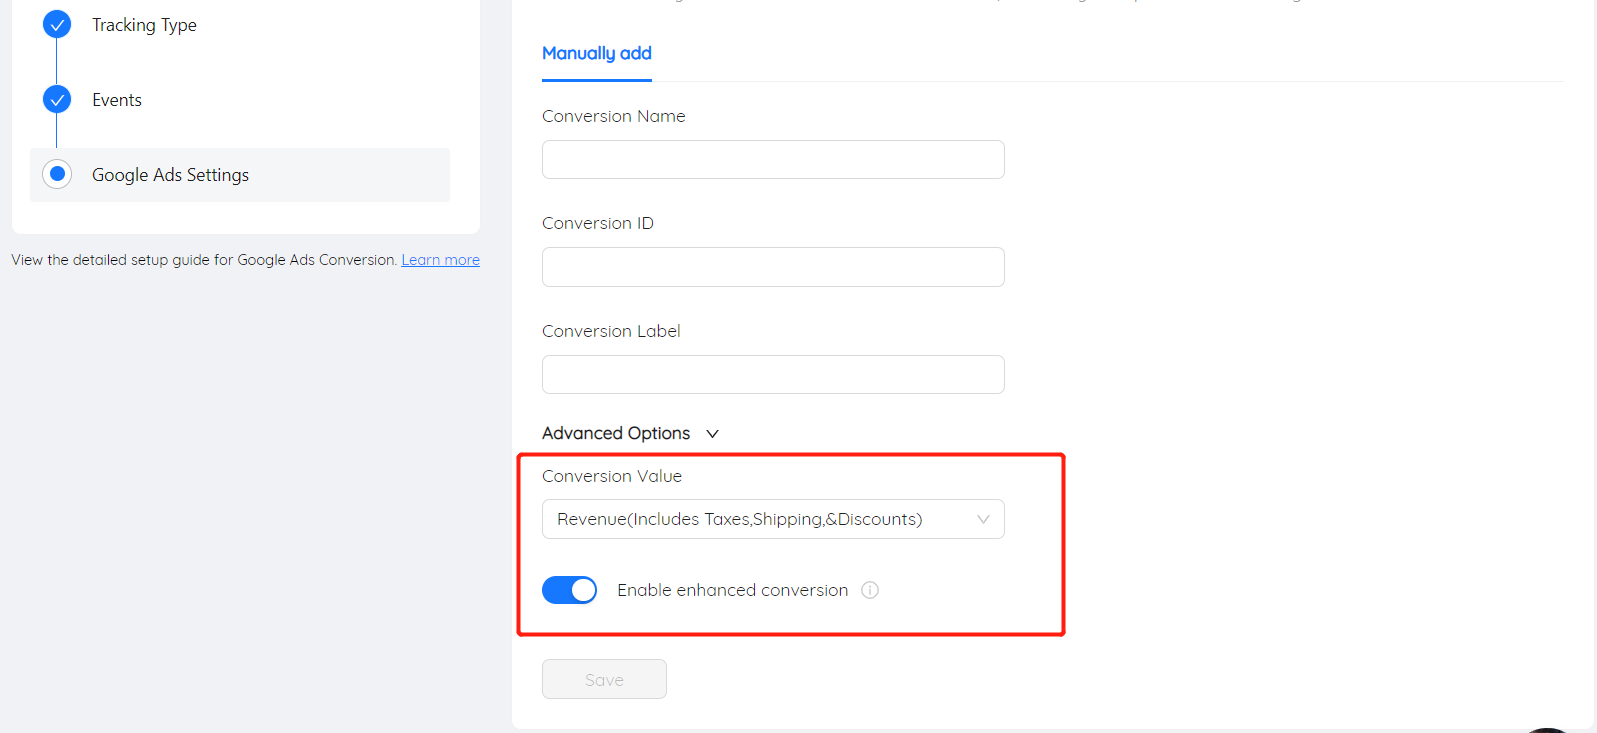
a) Conversion value: This setting will only be available when the event type is selected as Purchase in the second step. There are three options: Revenue (including tax, shipping and discount), Subtotal (including discount, excluding tax and Shipping), Product Subtotal (excluding taxes, shipping and discounts), the default is Revenue, which can be modified according to actual needs;
b) Whether to enable enhanced conversion: OmniTrack has implemented the enhanced conversion integration of the Purchase event, which is enabled by default. By enabling enhanced conversion, you can get more information from the server-side order.
Note: You also need to enable the enhanced conversion configuration in the Google Ads backend to receive the corresponding data. Click here to learn how to enable Enhanced Conversions in Google Ads backend
2. How to view Google Ads conversion tracking events in Pixel Helper (Google Tag Assistant Legacy)-only for client-side tracking
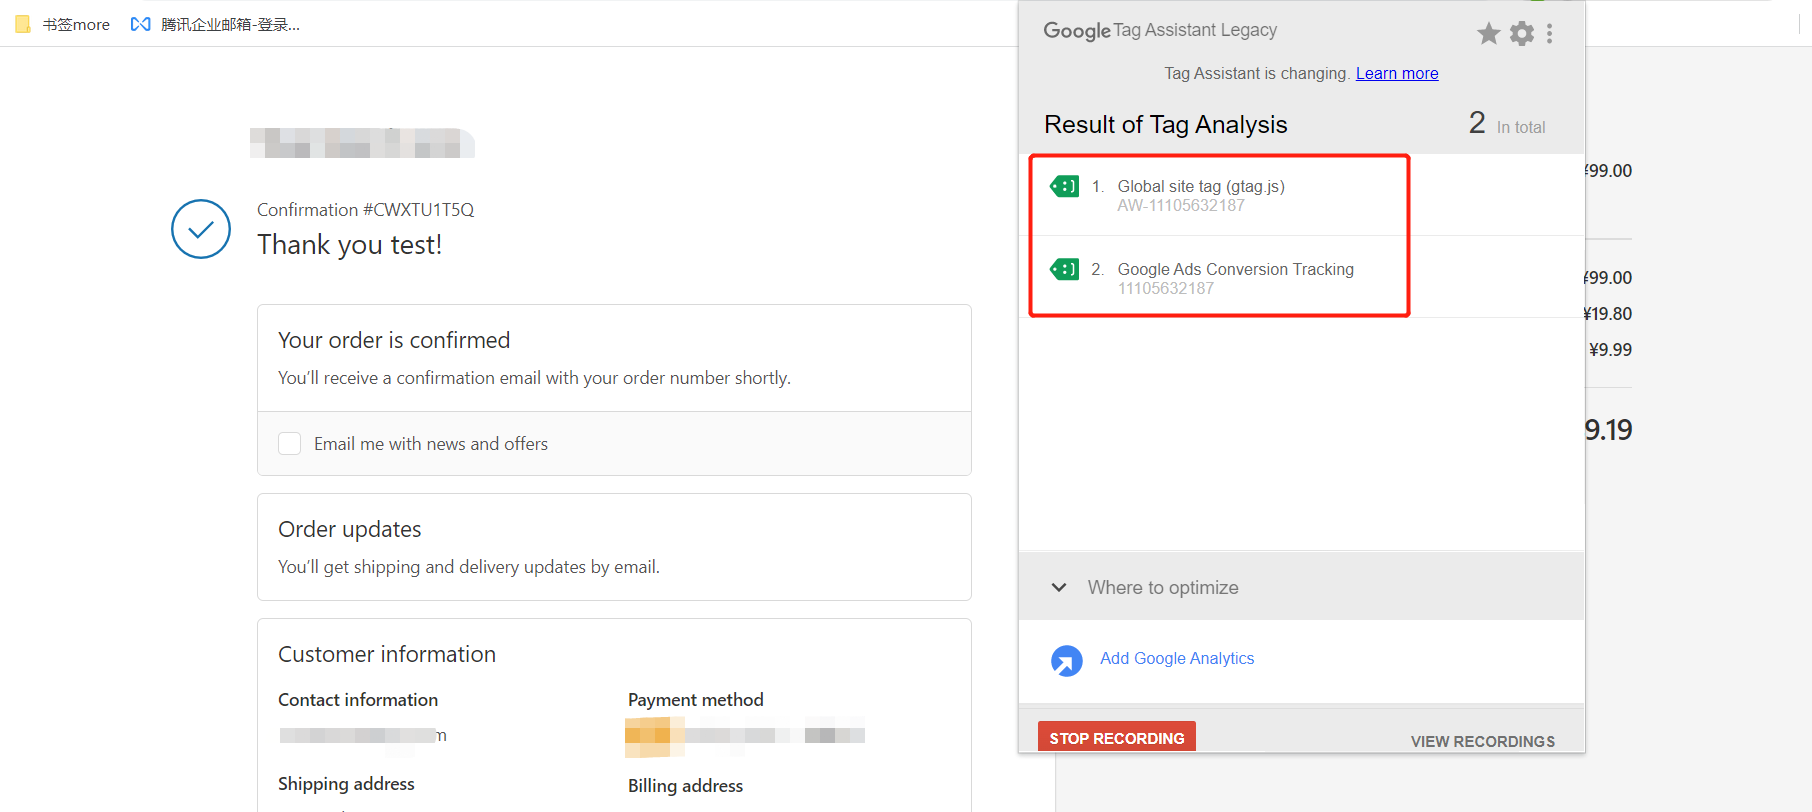
You can use Google Tag Assistant Legacy to check whether the Google Ads conversion tracking code is successfully added, and to test the triggering of conversion events. Click here to download Plug-in.
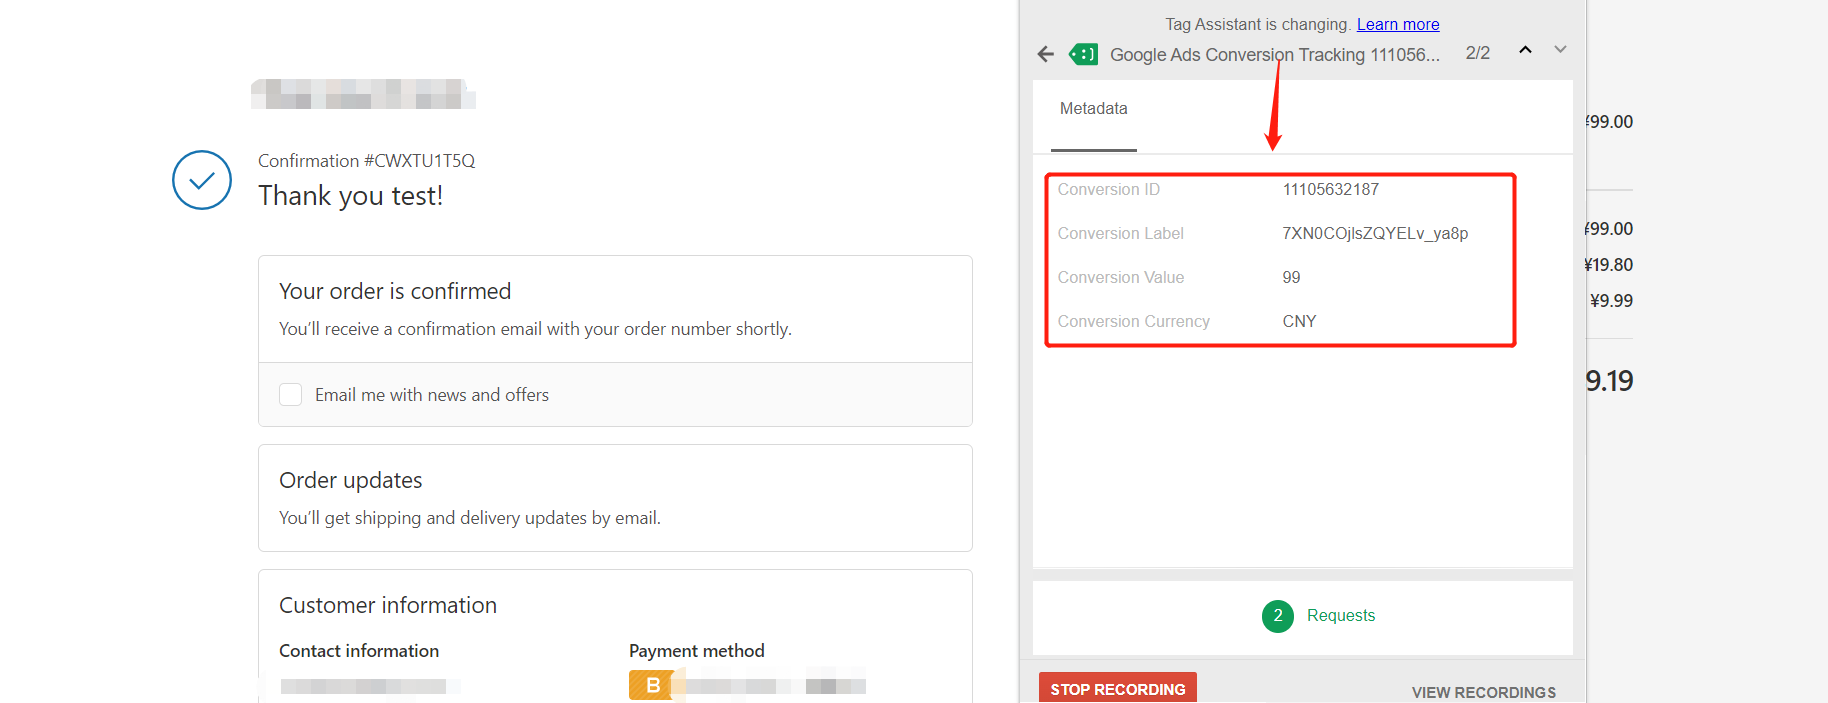
Take the Purchase event type as an example. After you complete a test order, you can see the conversion tracking event in the plug-in as shown in the figure below, as well as the event parameters and specific values. If the conversion event can be successfully triggered, it means that the code is installed and operating normally.
Note: Only client-side event tracking can be checked through the plugin, server-side event tracking is not applicable